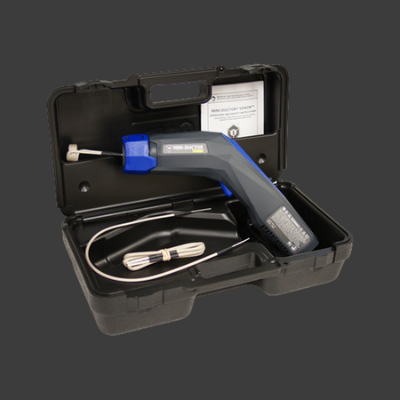
While mechanics and bodyshops love their Mini-Ductor® Venom™ and Mini-Ductor® II tools, the effectiveness of these innovative tools, and operator safety, are dependent on the state of the pre-formed induction heating coils used with them.
The INDUCTOR® coil range are vital accessories for technicians and we’re often asked by customers for tips and advice on how to extend the life of our coils.
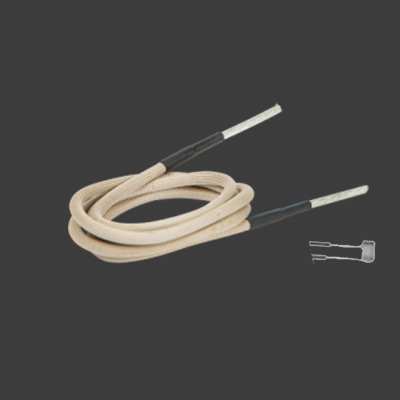
For example, the Bearing Buddy coil is used to free steering and suspension parts, frozen O² sensors, remove ball joints and tie-rod ends. These coils are available in regular or long sizes. Each coil will last several hundred uses, but this is dependent on the use of the proper sized coils per application, avoiding abrasion and overheating prevents premature wear to the coil.
When to replace coils
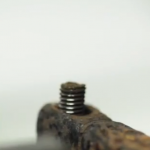
If the coils are subjected to the above, the insulation of the coil is breached and a new coil will need to be purchased; much sooner than normally needed. Bearing Buddy coils are much longer (1,041 – 2,438mm”) than standard coils. They need replacing when metal becomes exposed and/or turns brownish like standard coils (see image), but also when they become brittle as they are made of finely twisted copper.
Extend the life of your Bearing Buddy coils with a plumber’s mat Technicians should get 100 uses or more out of the Bearing Buddy coil, subject to use. One way to avoid abrasion, overheating and prevent damage to the coil is to use a plumber’s mat. Below, we show you how it can be used to separate a rusted and corroded exhaust. This can be a particularly time consuming and frustrating task. The nuts securing the bolts rust easily and the corroded exhaust pipe can be extremely difficult to separate.
The good news is there’s a quicker and safer solution. Read our step by step guide to find out how induction heat, applied via a Bearing Buddy coil and plumber’s mat, makes this task a lot easier.
Equipment needed: Heat resistant gloves, overalls, goggles and a respirator mask (if smoke will be produced from heating).
Knowledge required: A well-reviewed proficiency of the tools safety and operating instructions.
Step 1: Use a regular preformed coil to remove the nut. Remember, the nut remains very hot (you may see small amounts of smoke).
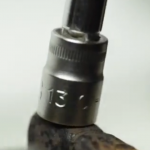
Step 2: Select the correct tool.
Remove the nut while still hot – be careful!
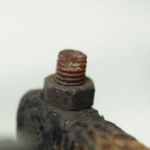
Step 3: The nut is removed cleanly and easily, with no damage to the surrounding area.
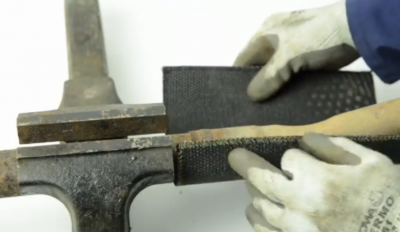
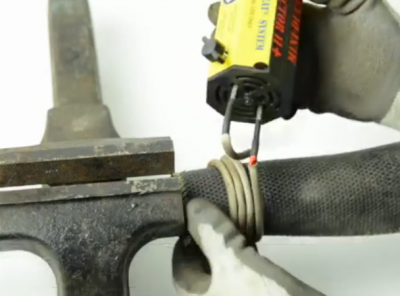
Step 4: Wrap a plumbers’ mat around the exhaust.
Hold it in place.
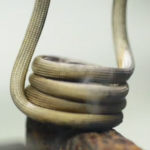
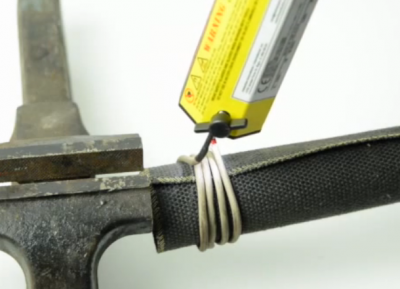
Step 5: Wrap Bearing Buddy Coil (whilst not attached to the Mini-Ductor® II +) around the plumber’s mat.
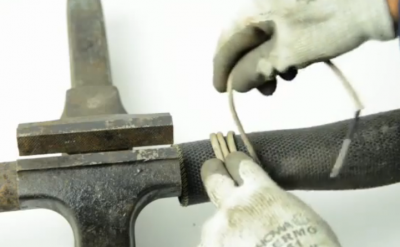
Step 6: Attach the Mini-Ductor® II +
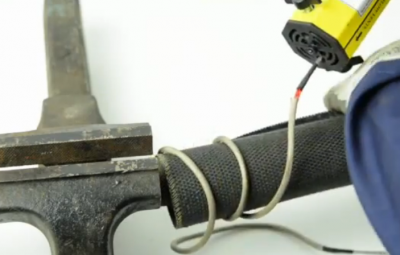
Step 7: Heat the exhaust. Caution: The exhaust will remain very hot.
Step 8: The heat breaks down the corrosion and the plumber’s mat minimises abrasion and overheating.
Remove the Bearing Buddy Coil and plumber’s mat.
Caution: the exhaust pipe remains hot!

Step 9: Use a hammer to loosen the joint and separate the exhaust whilst still hot.

To see a video of the above steps, visit www.youtube.com/user/theinductoruk