Guide: Rusted & Corroded Nut Removal Near Fuel Lines
Rusted & Corroded Nut Removal Near Fuel Lines
Using the Mini-Ductor® Induction Heater & Flameless Torch Have you ever been faced with the problem of removing a rusted, corroded nut in an inaccessible space, near a fuel line? The traditional approach of using an oxygen fuel (oxy-acetylene) torch is obviously out of the question as its use in a confined space vastly increases the consequential fire risk – plastics, wiring, trim and fumes around the part to be removed can catch fire, causing potentially costly damage. The innovative Mini-Ductor® Induction Heating tool range uses Invisible Heat® to quickly heat ferrous and some non-ferrous metal, providing a safe and viable alternative to using a naked flame. Some parts can be also be reused as the Invisible Heat is localized on the part and not the surrounding area, with less collateral damage.
Bendable Coils Provide Access in Hard-to-Reach Places
The Mini-Ductor is supplied with 3 bendable coils, ideal for getting into awkward areas and thin enough to wrap round the nut and heat it in seconds for easy removal. For example, a 3/4″ nut is heated red hot in 15 seconds. The heat expands the nut and breaks down any corrosion bonds.
Step-by-Step Instructions
- Equipment needed: heat resistant gloves, overalls, goggles and a respirator mask (if smoke will be produced from heating)
- Knowledge required: a well-reviewed proficiency of the Mini-Ductor’s safety and operating instructions
Step 1: Make sure fuel lines are not leaking or creating a vapor.
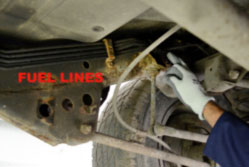
Step 2: Select the correct Coil (coils come in various sizes). Bend the coil to the correct shape for ease of use. Warning: Do not use coils with breaches in the insulation.
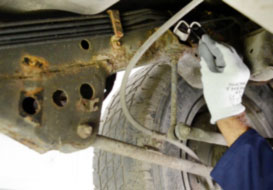
Step 3: Tighten the preformed coil well around the nut.
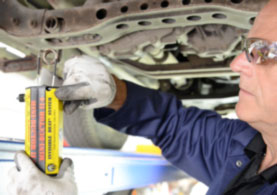
Step 4: Only heat the nut enough to expand and loosen. Red hot is too hot!
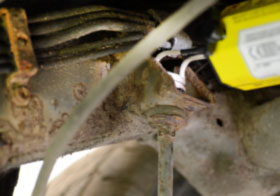
Step 5: Select the correct tools, such as a wrench, to loosen the nut. Caution: remove the nut while it’s still hot.
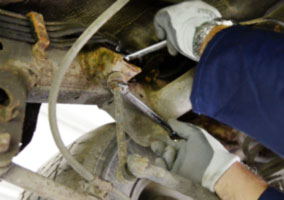
Step 6: The nut is safely removed.
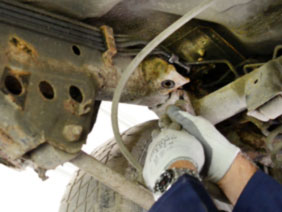
Video: Removing rusty, corroded nut near fuel lines with a Mini-Ductor® II +

